Add your UPS to the monitoring
The button “plus” allows you to add your UPS to the monitoring by OPMONis.
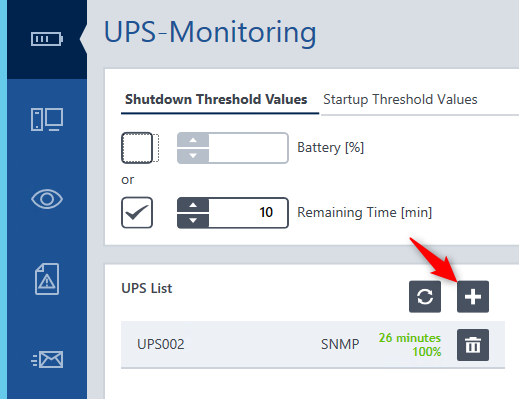
You can choose between a cable connected UPS (serial or USB) and a network UPS (SNMP). You´ll find further information in the chapter “Technique”. You will be asked which one of these two possibilities you´ll have to choose:
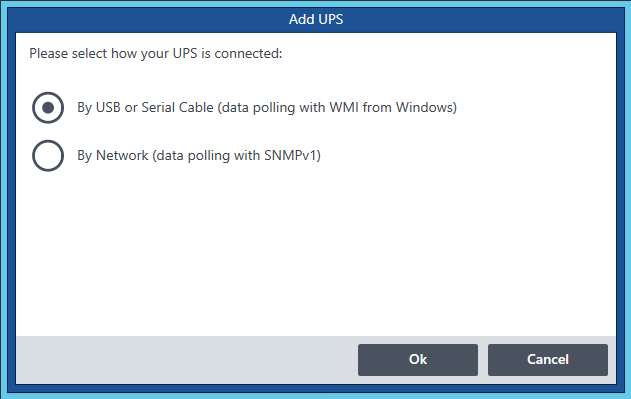
After pressing the OK button a new UPS entry is created. The UPS must still be configured to be used by OPMONis.
- Configuration of USB or Serial Cable connected UPS: *link*
- Configuration of Network (SNMPv1) connected UPS: *link*
Important: If you are using multiple UPSs, the first time a threshold is reached by one UPS will trigger the shutdown, even if there is still enough capacity in another UPS.
Naming of a UPS
Each UPSs can be given a name for a better overview:

You can set the name in the input field “Display Name”. OPMONis will generally select and insert the official name reported by Windows. The chosen name has no further effect and only will be used and saved within OPMONis.
Showing the current UPS status
The current status of the UPS is regularly monitored and displayed by OPMONis:
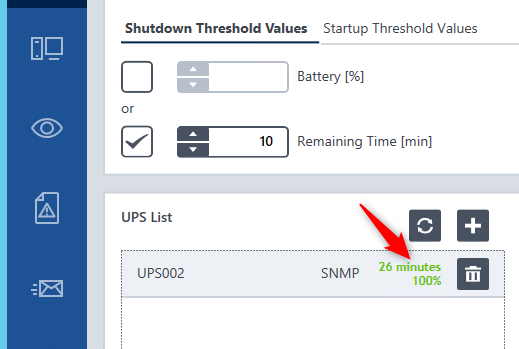
Via the “Refresh” button the current data is requested immediately and displayed shortly afterwards. If available, the remaining runtime and the remaining capacity is displayed for each UPS.
Removing a UPS from the monitoring
The button “recycle bin” will remove unneeded UPSs from the monitored list:
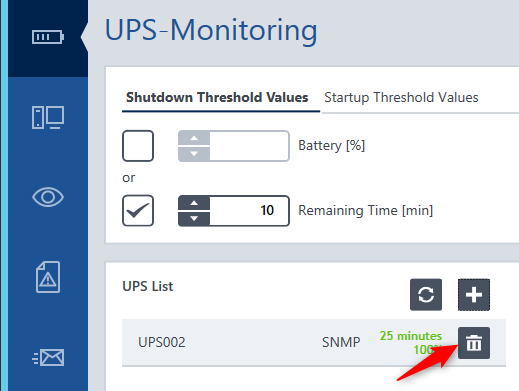
OPMONis will ask you if you are sure that the selected UPS should be removed and will only remove the UPS if you confirm this.
