If anything goes wrong…
In case any of the following steps do not work out properly, or if you are stuck at any point check out our forum for further help or advice. Perhaps your problem has already been solved. Else we will try as fast as possible to give you an individual solution.
Installation
First you double click the setup.exe. Now a background service is started and a user interface is installed. Also a desktop and a start menue item are added to your system.
Set Language
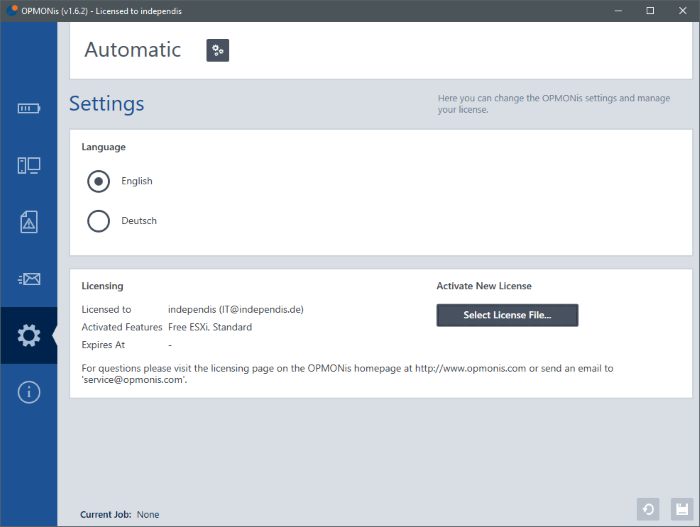
If OPMONis is not running in your language, you now should set the desired language in the OPMONis settings. At the moment you can choose between English and German.
Automatic / Manual
By changing the operating mode from automatic to manual (click on the gear button), it is possible to manually shut down systems. This way you can easily perform maintenance and also check if OPMONis is working properly.
This is always the right mode for making any changes in OPMONis settings, so setting the mode on manual is the first thing to do. Else it could happen, that your systems will be shut down if there is a blackout while configuring. Don’t forget to put the system back to automatic mode after having finished!
UPS-Monitoring
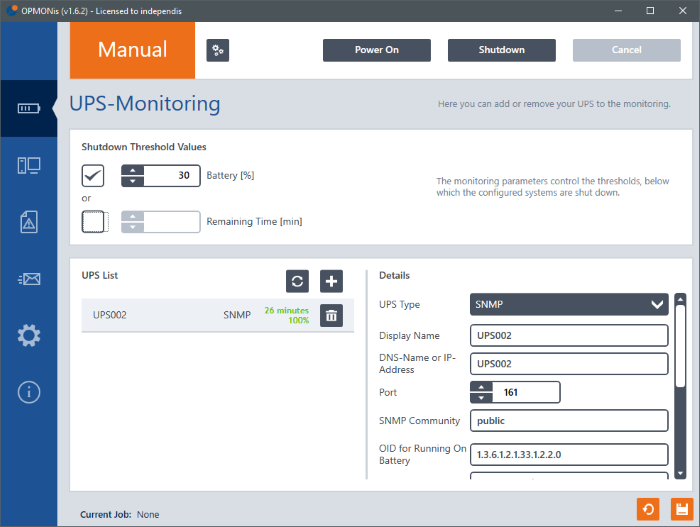
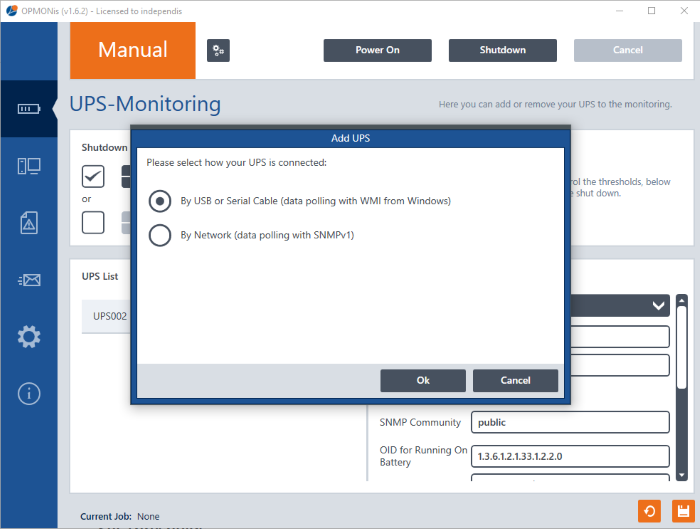
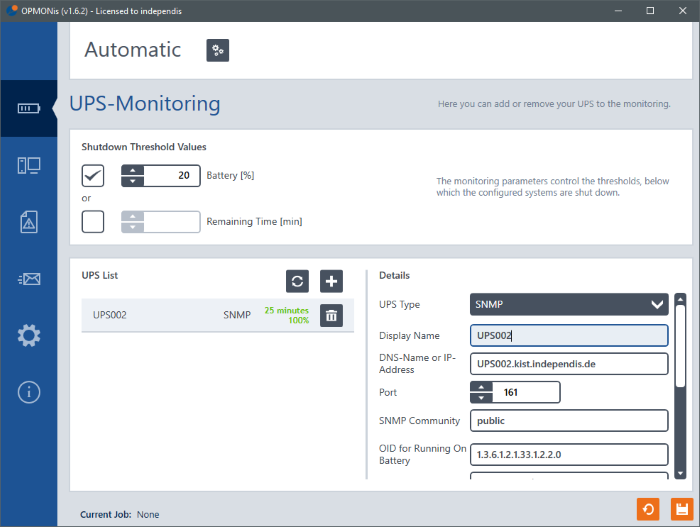
In the UPS Monitoring you can add the UPS you want to monitor by clicking on the plus-sign. All identified batteries will show up automatically.
After choosing the UPS click on “OK” and the Save button. You can repeat this step for all the UPSs you want to monitor.
Set Thresholds
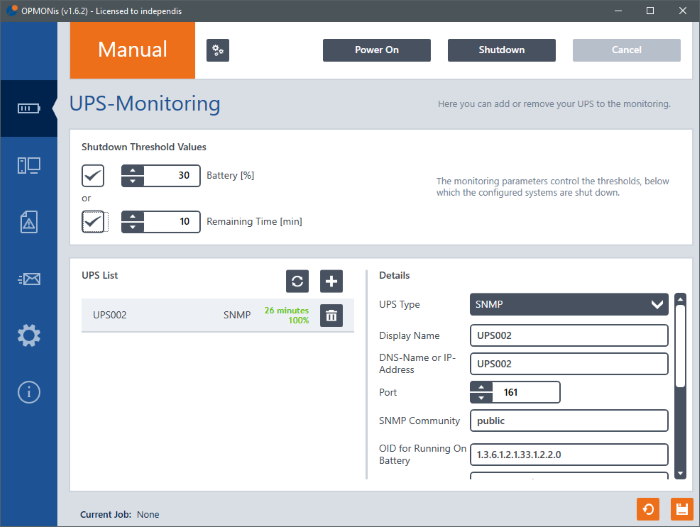
Now you can choose by checking or unchecking the boxes if you want to monitor the percentage or the remaining time or both of the UPS. Also you can rename the UPS for a better overview, if you want to manage several UPSs. By clicking on the recycle bin you can remove the the chosen UPS. Clicking on the refresh button will show you the actual state of your UPS in percent.
Add Systems
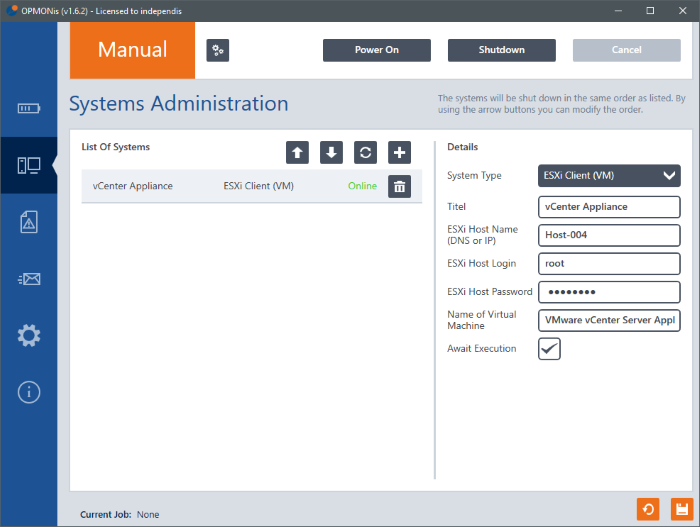
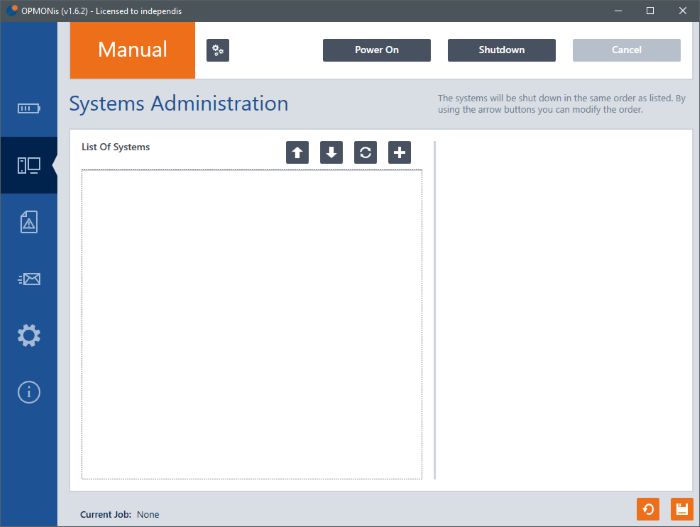
In the Systems Administration you can add the Systems you want to control. Again you can add systems by clicking on the plus-sign.
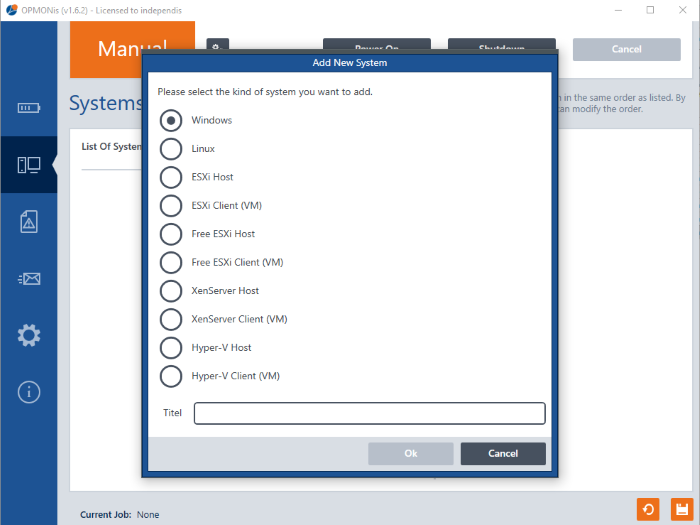
After clicking the plus-sign you have to choose the kind of system you want to add. You will have to name it for a better overview later. You will need the systems DNS name. The needed MAC-adresse will be identified automatically. Last you have to enter user name and password (which will be saved in an encrypted way)
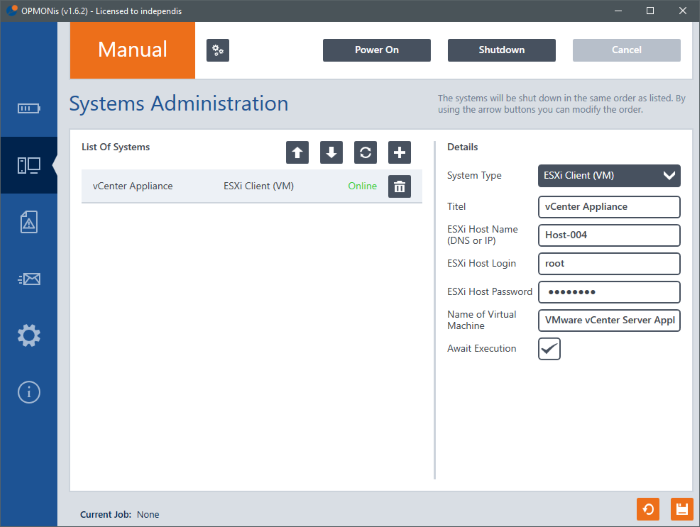
The checkbox “Await Execution” gives you two possibilities. Checked, Opmonis will wait until the triggered action is completed (Shutdown, Boot ).
Unchecked it will proceed as soon as the triggered action is confirmed by the system and not wait for completion. Don’t forget to save!
The refresh button will show you if your system is correctly added. Repeat these steps for all systems that you want to control.
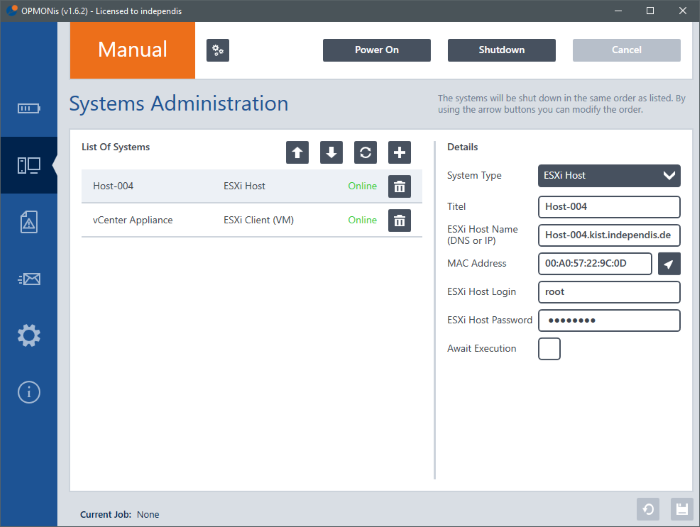
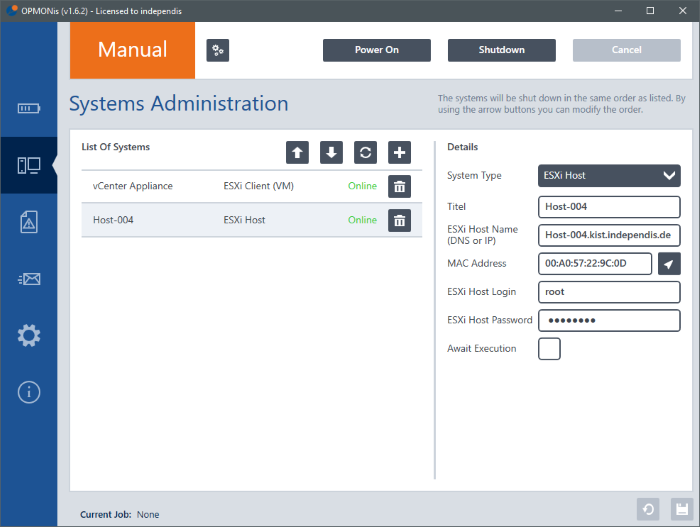
Arrange Order
You can use the arrow keys to arrange the systems in the order you wish them to shut down.
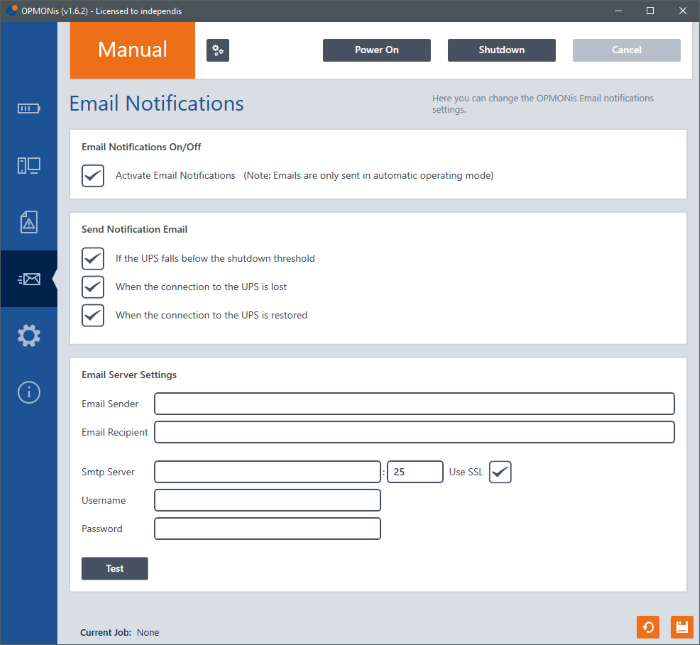
Configure Email Notifications
To be notified by email when OPMONis triggers the shutdown of your systems, or when the connection to the UPS is lost, you must specify the Email server settings.
You are ready!
Finally, set OPMONis to automatic mode by clicking the gear button
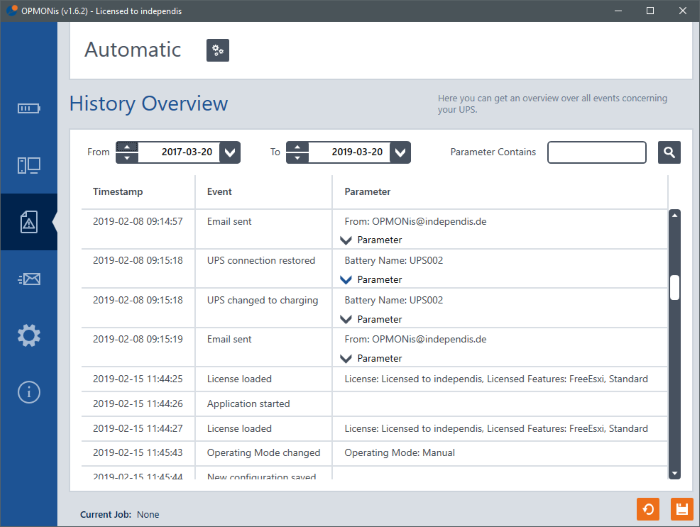
Now your systems are safe to be shut down properly if a power outage lasts longer than the average. You can see all important events in the History.
